Mediabox CK

You can use your Google Photos albums to display your images in your website. This is easy and does not need any complicated setting. You can use Mediabox CK to automatically create a gallery with the images from your Google Photos album, and show each photo in a Lightbox popup in your Joomla website.
If you want to show some Youtube video to your visitor, the best way is to place an image (which is a thumb of the video) in your content, and open the video in a lightbox when the visitor click on it. You can do that using Mediabox CK. You should place your own image and give the link to the Youtube video, but there is a simple solution that will do all that for you automatically.
Select the Youtube option, give your video url, and Mediabox CK Pro will do the job.
Read more: Create a youtube video with thumbnail automatically
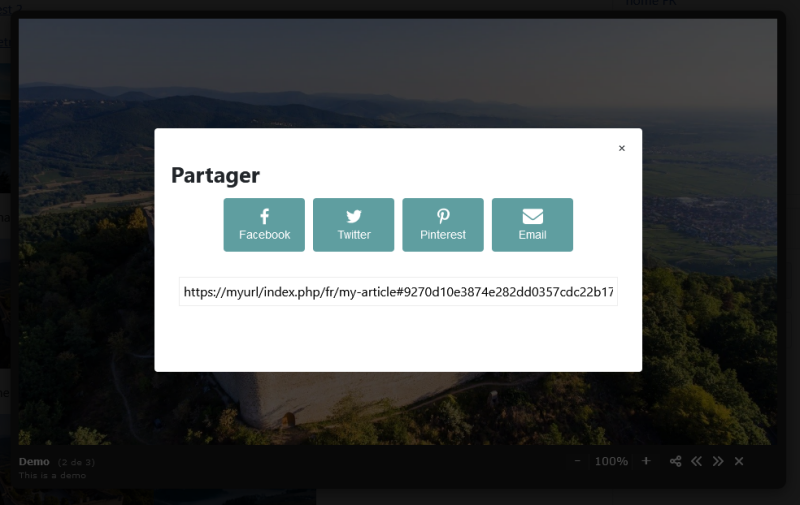
You can display your medias (images, videos ...) into a Lightbox for your Joomla website. This can be done easily with Mediabox CK which is a multimedi lightbox plugin for Joomla.
You can create a gallery and show only a limited number of images at once and add a pagination + navigation system to navigate through all the images. This is possible with Mediabox CK.
After the installation of Mediabox CK you can create your first lightbox very easily.
Create a link to an image
Go in your editor and create a link
- set the url to what you want to show in the lightbox : an image, a video, a website
- set the
reltag toLightbox
Example with a lightbox to an image :
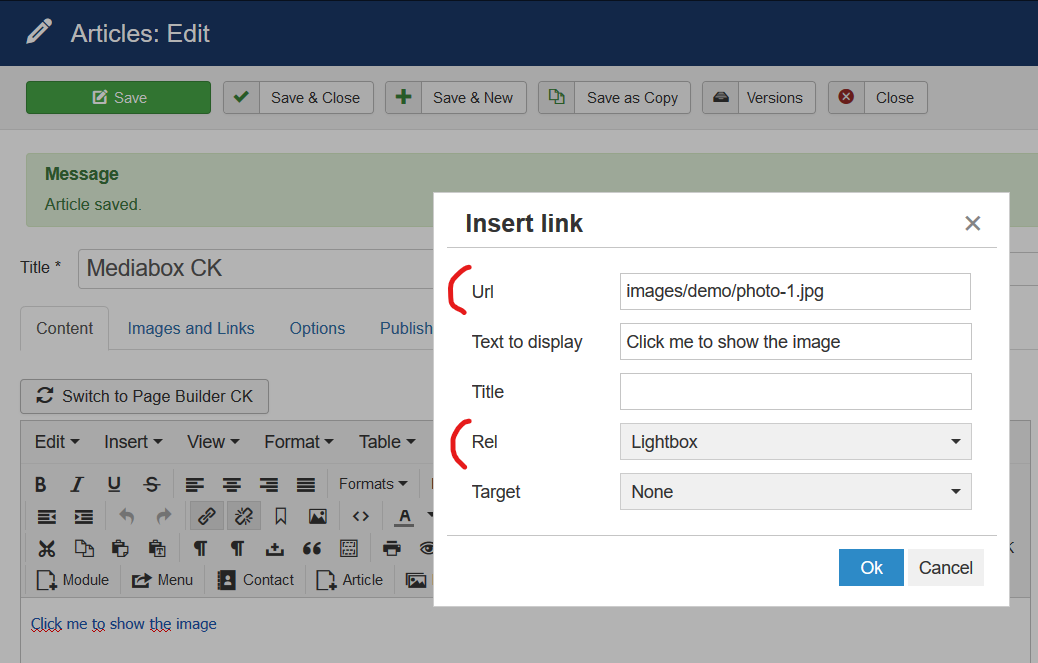
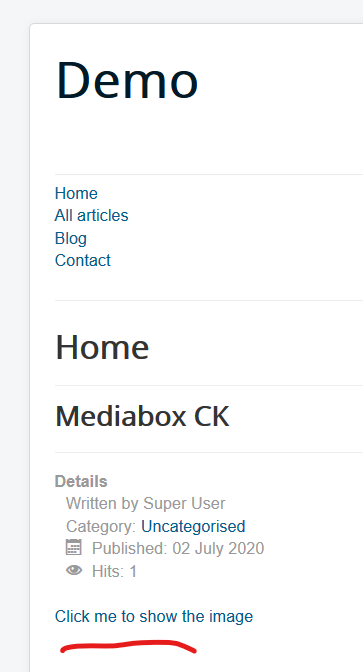
Then you will get a simple link in your article
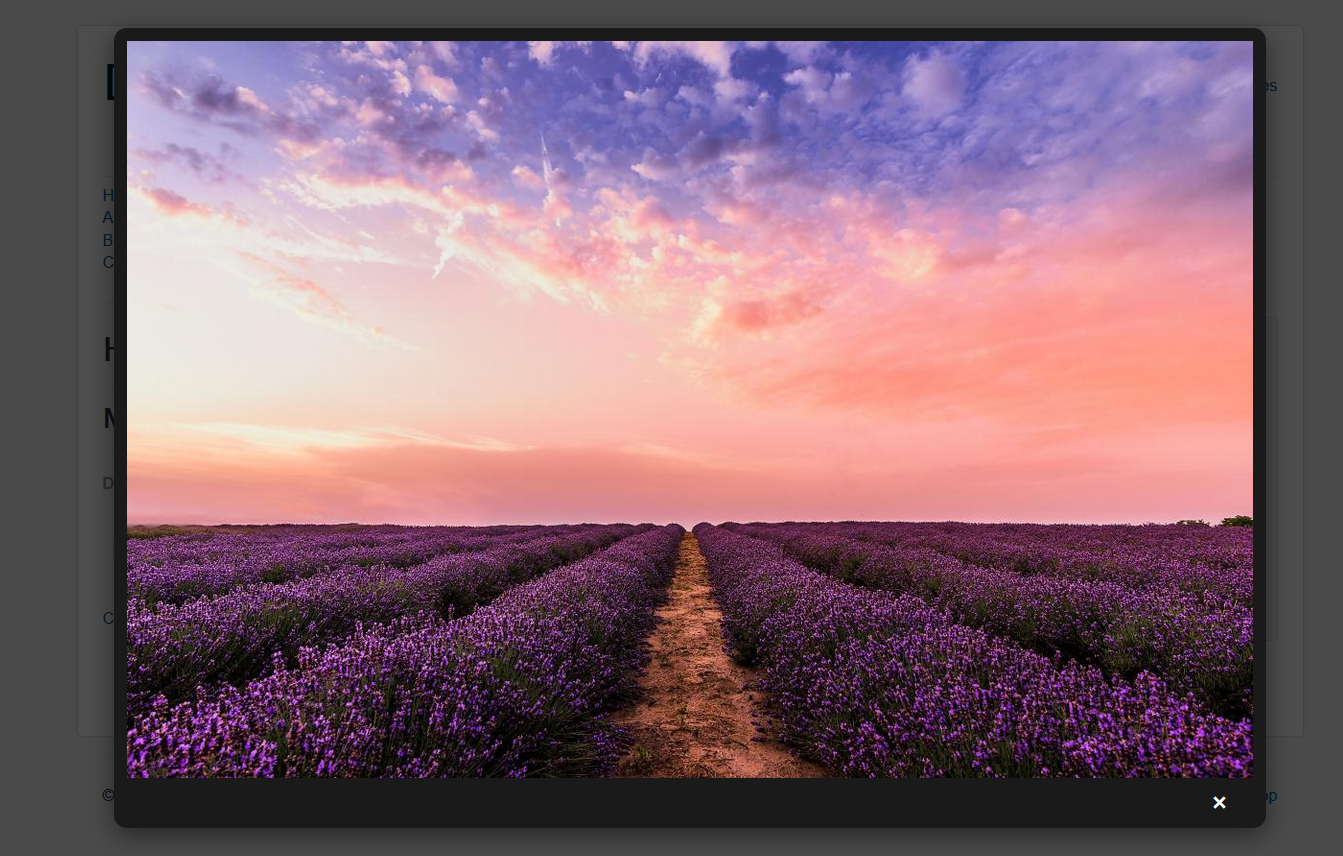
When you click on the link, it will open the Lightbox popup with the image that you have set in the link url
Create a lightbox using the editor button
This is the easiest way to create your lightbox directly with the interface. Click on the Mediabox CK button in your editor
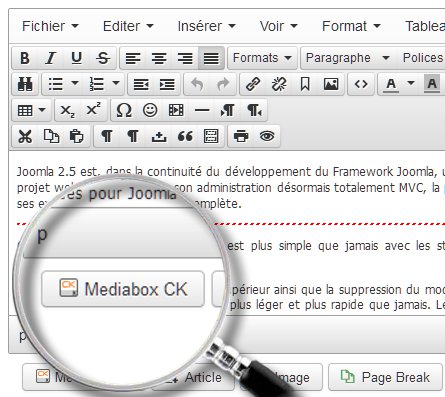
It will open a popup with the settings that you use to control how to show your lightbox.
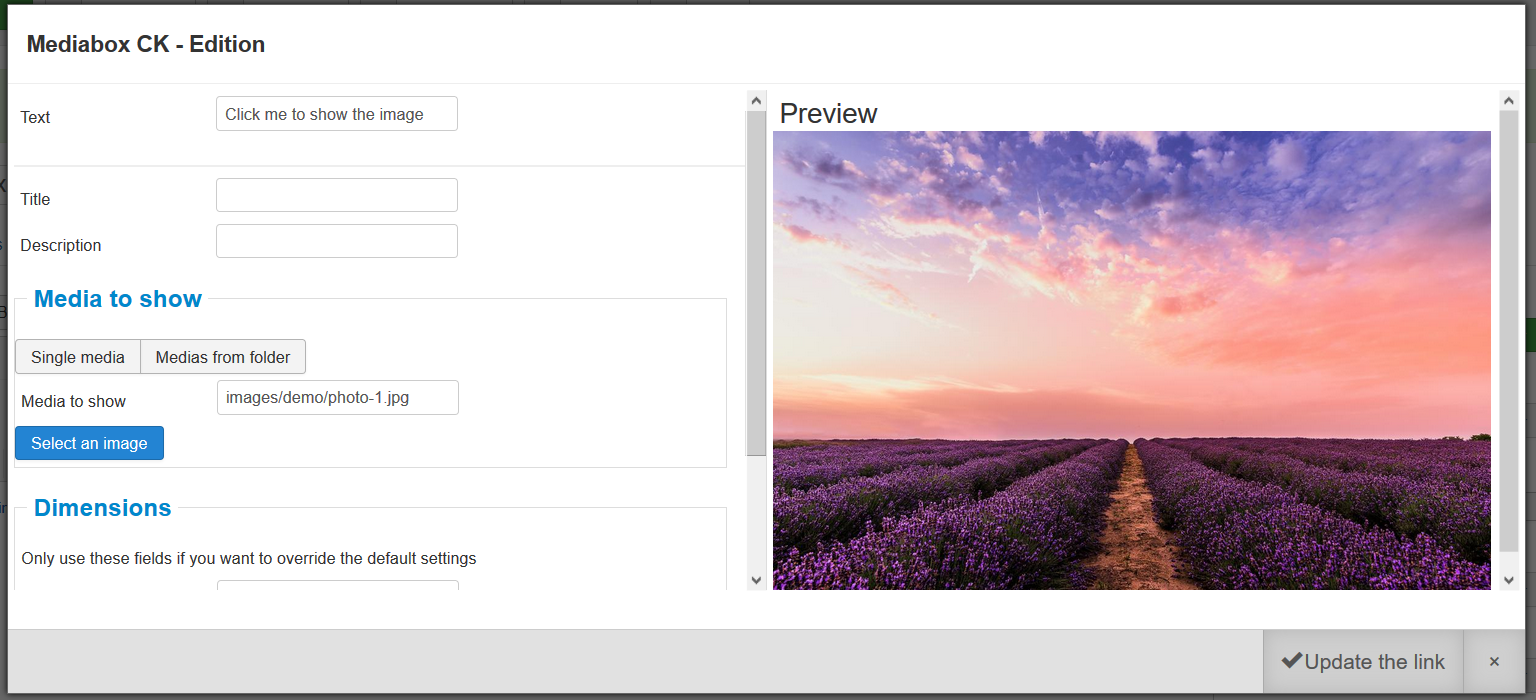
You can use the interface to select the image to show in the lightbox, to create a gallery, add few settings to control your lightbox.
Custom settings for your lightbox
You can customize your lightbox to adapt it to your needs. Here are few options that you can use with Mediabox CK :
- Render the images in a gallery with the
galleryparam and load them from a folder - Use any effect of Image Effect CK in the gallery
- Display the images from the gallery in a random order
- Autoload the lightbox on all your images in your website, or only to the images by filtering with a css class
- Automatically create the thumbnails of the image according to the image attributes (width and height attributes)
- Group the images into an album so that you can navigate throught them in the Lightbox
You can check all the params and the method to use it in the documentation : Mediabox CK settings
Autoload the lighthox on your images
You can go in the system plugin Mediabox CK to find the options available for the lightbox. Here you can choose to enable the autoload feature :
- it will add the lightbox automatically to all images in your website, or filter with a css class. It will add the link to the image itself to the original source
- it will keep the existing links without modificaiton
You can also enable the automatic thumb creation :
- it will automatically look for all links having the rel="lightbox" attribute and resize the image in the link, if any
- it will automatically resize the images found if you have also enabled the autoload feature
- it will resize the image in the galleries to the dimensions given in the plugin options
- it will resize the images to the width and height given in the image attribute. If no attribute if found, the image is not resized to avoid any issue
For example if you got an image like that in your article
<img src="/images/demo/image.jpg" width="957" height="526" loading="lazy" >
But the image.jpg has a real size of 2800 x 1540. Then Mediabox CK will resize the original image to 957 x 526 and store it in a subfolder "th". This image will be loaded in your page and it will reduce the loading time of your website. The link is automatically added to show the original image (2800 x 1540) in the Lightbox.
Fitst you can check how to create a Lightbox to help you to manage Mediabox CK.
Manually by coding
You can create the link directly from your editor, or anywhere you want.
Mediabox CK will search for all links that have the attribute rel="lightbox" (you can change the attribute name and type in the plugin options). To use the lightbox on your link you must add it the attribute like this :
<a href="/mypage.html" rel="lightbox">Link title</a>
The href can point to a link, to an image, a video or anything else.
Group your medias in an album
To create an album or add some special parameters, you shall edit the html code and add yourself the rel attribute on the link with the tag <a>. Example : rel="lightbox[albumname]"
<a href="/mypage.html" rel="lightbox[myalbum]">Link title of 1st link</a>
<a href="/mypage2.html" rel="lightbox[myalbum]">Link title of 2nd link</a>
Both links will be displayed into the Lightbox and you can navigate through them using the navigation arrows.
Give specific dimensions to a media
You can also want to override the general settings of the plugin and ask it to open the media with a specific width and height. You can set them in the rel attribute. Example : rel="lightbox[width height]"
<a href="/mypage.html" rel="lightbox[640 480]">Link title</a>
And combined dimensions with an album :
<a href="/mypage.html" rel="lightbox[myalbum 640 480]">Link title</a>
Using a tag
Mediabox CK Pro can also manage the tag to help you to create your lightobx.
You can also use a tag to create a link automatically based on the parameters you write in it. This is useful to put a text anywhere in your page and create a link (if you don't have any html editor available) or if you have some difficulty to add the attribute to your link.
The Mediabox Tag is also the method that allows you to load directly all images from a folder. Then you will click on the generated link and all images from the folder will be shown into the Mediabox CK popup, grouped into an album so that you can navigate through them.
This is the text that you must write :

The tag can have multiple parameters, all separated with a "|" (vertical bar).
List of all parameters :
src= : source media to show in the popup, it can be an image or video or url
w= : lightbox width in px
h= : lightbox height in px
alb= : album name to group the medias and show the navigation
t= : title and description shown under the media, separate them with a double point ::
dir= : load automatically all the images contained in the folder, then you can navigate through them into the lightbox. If you use this, you don't need the 'src' parameter.
gallery=1 : to load automatically all the images in a gallery
effect= : name of the effect from Image Effect CK to apply to the images in the gallery
nb= : number of images to load in the gallery. If the pagination is active, this will setup the number of images per page, else the gallery will show exactly this number of images
random=1 : load the images in a random order
order=labels : define the order of the images to be the same order as defined in the labels.txt file. See the doc for more info
autoload=1 : load the popup on page load. See the doc for more info
pagination=1 : display a pagination and limit the number of images to be shown in the same time
sort= : asc or desc. By default the value is asc, you can use this setting if you want to show your images in the inverse order
Using the interface
The interface is available on the Pro version. You can do multiple things
- Set the text do display as link
- Give a title and description that will be shown in the Lightbox popup
- Select an image from the Joomla media manager
- Select a folder from a tree just by clicking on it (list all folders in the 'images' folder)
- Set specific width and height for your Lightbox
- Set an album name to group the media with other ones in the page
- Choose if you want to insert a HTML link (on text or image) or if you want to create a tag

Mediabox CK has a feature that allows you to automatically show a popup on page load.
1. With the tag (Mediabox CK Pro)
1.1 Autoload
Using Mediabox CK Pro, you can use the tag directly with the button editor. In your tag you can add the autoload params to tell the system to open it automatically.
Example :
You can place this into an article, in a module or where you want.
1.2 Session count
You can define how many times you want your popup to appear during the visitor session. This can be any numeric value starting from 1
Example of code using the session params:
Note that if you have a cookie blocker (according to the EU law), the counting will start only after the user has accepted to store the cookies.
1.3 Fade out timer
If you want to automatically close the popup after a duration, you can do that also using a parameters.
Example of code using the fadeout params:
The duration is given in ms (millisecond)
You can also combine the session and autoload settings like this
Use a Labels.txt file for your images
When creating a gallery or importing images from a folder you can use a file to tell what to show on each image.
How to define the title and description of my images ?
You must create a file named : labels.txt
In this file you must write one line per image like this
Image Name.extension | Image Title | Image Description
each setting is separated by a vertical bar "|".

Check an example of what you can write in your labels.txt file.

Make it multilanguage
You can have the same folder for your images and write as many titles and descriptions for your images as languages you have on your website.
The default file is named : labels.txt
Now if you want to write a french language, you must create another file named : labels.fr-FR.txt
The syntax is like this
LABELS.[LANGUAGE TAG].TXT
Then in the file, just write the lines in the same way with the name of your images and the other settings
Order your images
By default the images will be sorted by natural order (like alphabetical). But you may want to sort your images in a custom order, you can do it !
You must enable the order using the parameter in the tag like this :
Then the system will follow the order of the images that you set in the labels.txt file. Easy as pie :)
















News