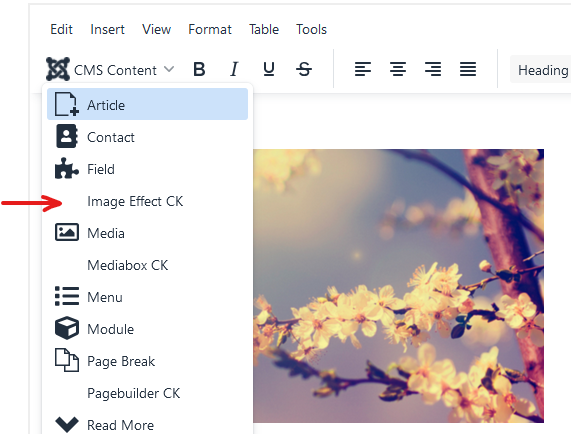
You can use Image Effect CK to add a rollover effect on your images. This rollover effect can also be combined with other effects.
Add the rollover using the editor button (Pro version)
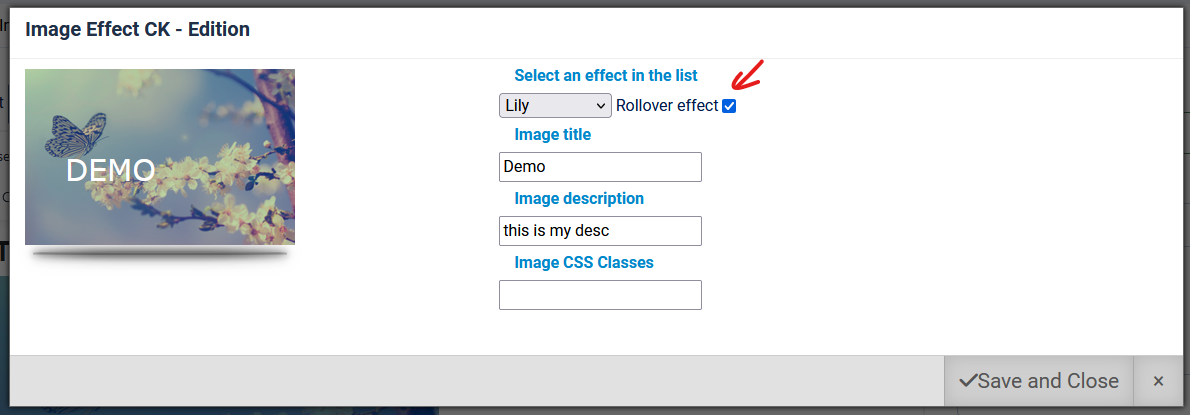
First you must select the image in your editor where you want to add the effect. Then click on the editor button Image Effect CK to open the popup

In the popup you can simply check the box Rollover effect. This is compatible with the list of effect, it means that you can use an effect from the list combined to the rollover effect on your images.

But note that some effect like flip or circles can not be combined with the rollover simply because on mouseover they change the face and the image is no more visible.
Add the rollover using the html
If you don't have the Pro version of Image Effect CK or if you want to use the effect somewhere you don't have the editor button, you can also add the image rollover effect manually by using a css class on the image.
To add the rollover effect on your images you must use the following css class : effectck-rollover
Example of an image tag where you add the rollover effect :
<img class="effectck-rollover" src="/images/demo-image.jpg" width="498" height="274" loading="lazy" >
Example of an image tag where you add the rollover effect combined to another effect (dexter) :
<img class="effectck-dexter effectck-rollover" title="Demo::this is my desc" src="/images/demo-image.jpg" width="498" height="274" loading="lazy" >
As you can see it's really simple to use it. Once you start adding an Image Effect CK css class, your image will be transformed automatically and it will received the selected effect.
Create the rollover image
Using the rollover effect means that you have 2 images and when you put your mouse over the first image, it reveals the second one.
To setup the second image to use, the one that will be revealed, you must name it the same as the original and add it a suffix -rollover :
Original image :
images/demo-image.jpg
Second image (rollover) :
images/demo-image-rollover.jpg


News