Using Page Builder CK and the contact addon you can place a contact form where you want in your Joomla website, and customize it as you want.
How to create an amazing contact form
The main features of the contact form into Page Builder CK are
- easy integration anywhere you can load a page (into any editor, into your modules, into any article, in thirt party extensions...)
- simple configuration, just write the email where to send the infos
- captcha security
- customizable design : many styling options to give a unique look
- multicolumns design : just move the fields as you want with drag and drop
- custom addional fields : add any field to your form like text, radio buttons, checkboxes, dropdown list. Easy edition for each field
- responsive
Add a contact form to your content
Go in Page Builder CK, drag and drop the contact form into the content area, you will get something like that :
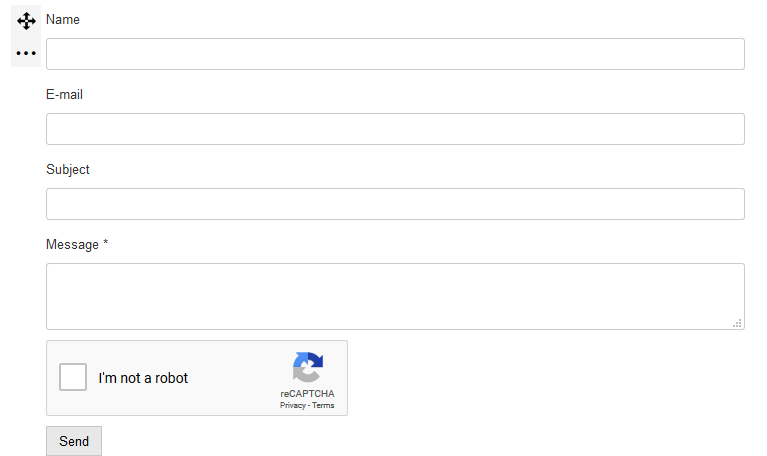
Place your mouse over the form and click on the edition icon of the item, it will open the options in the left panel :
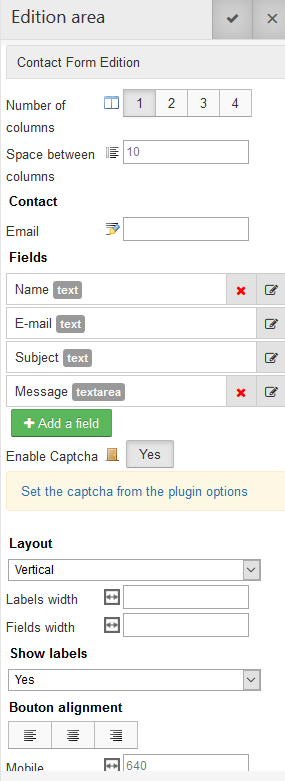
As you can see there are a lot of options that you can play with. Once you have set up your contact form as you want, you can save your work and it will work out of the box without problem. The only necessary option that you must set is the email where to send the contact request.
Configure the email
This is an easy step. Go in the left panel options and write your email in the field.

That's all, you can now save the page, the contact form is ready.
Enable the captcha
For more security, you can enable the captcha for your contact forms (this will apply to all contact forms created with Page Builder CK in your website). Go in the left panel, you will see the option set for the captcha :

In this example the captcha is enable. If you want to edit this, you can click on the link that will redirect you to the plugin manager. Then edit the plugin Page Builder CK - Contact and you can change the option here.
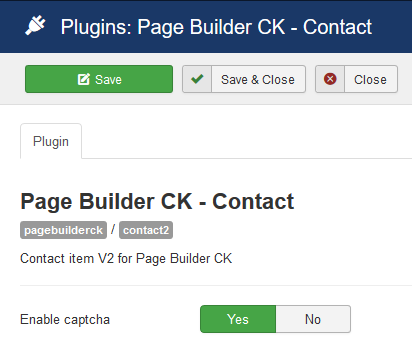
Note that the captcha license key must be set in the Joomla captcha plugin, as for the native joomla contact form.
Create your own design
You can give the colors, dimensions, margins, etc to any field. You can choose if you want to align the labels and fields vertically or horizontally :
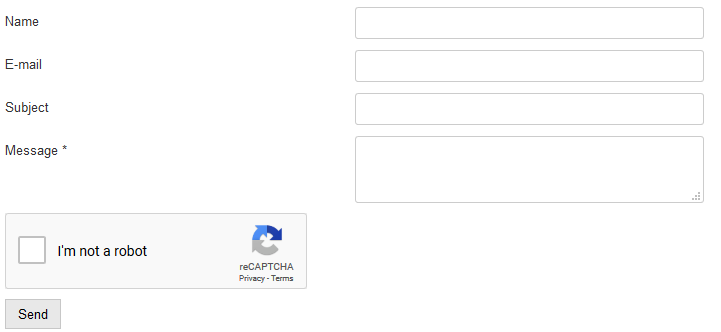
You can also choose to put the labels as placeholders into the fields
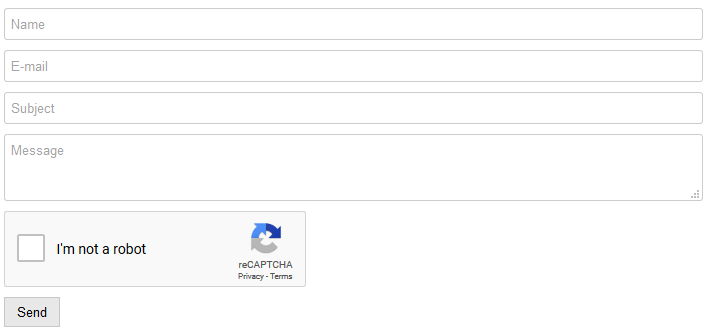
And you can set the styling options for many items
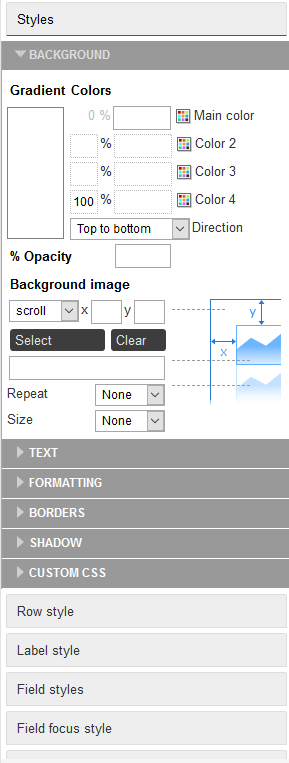
These are just examples of what you can do, the limit is your imagination.
Create a multicolumns design
You can create a multicolumns layout using the contact form options. You can have up to 4 aligned columns and give a value for the space between the columns.
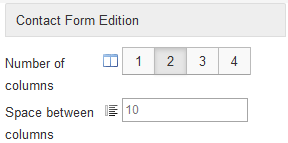
Here an example of what you can do : 2 columns with a bottom fullwidth column where you can place what you want, like the button or any field.
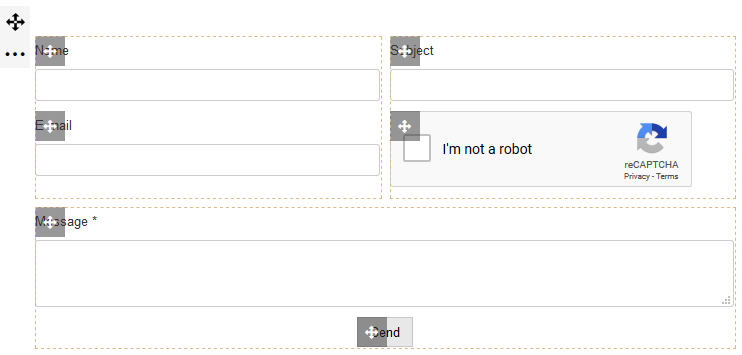
To move the fields, just drag and drop them from one place to another. This is fast and easy !
Custom additional fields
You can manage the fields that you will use in your contact form. You can move, delete, or edit the name and options for each fields excepted for the Email and Subject fields that are necessary for the good working conditions.
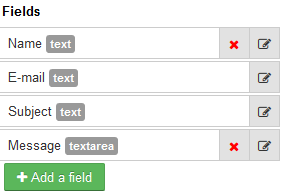
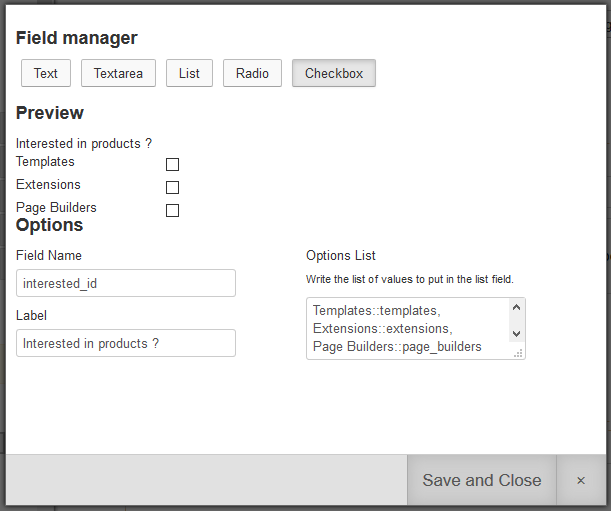
Go in the left panel to edit the fields. You can add multiple types of field
- Text input
- Textarea
- Select list
- Radio buttons
- Checkboxes
For each field you can set the Label, the value and the options.
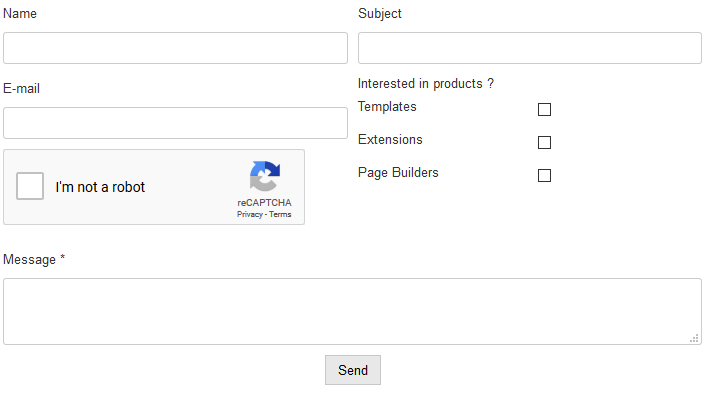
Look at what it looks like using the new custom field (checkboxes) that we have drag and drop into the 2nd column :
Responsive
Last but not least, the contact form is responsive. In the left panel options you can set the resolution at which the fields will be stack vertically. This allows you to totally control the look of your contact form on any device.

Download Page Builder CK Params (to get the contact form addon)







News