Nouveau Captcha pour Joomla

NOUVEAU

logo captchack 64Protégez vos formulaires avec Captcha CK. Il inlcut plusieurs techniques pour bloquer les robots.

En savoir plus


page builder

page builder

  • Add an amazing image effect with Page Builder CK

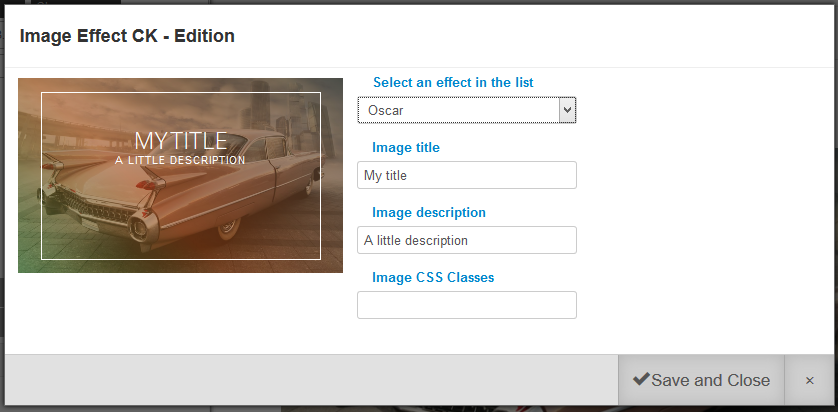
    Image effect with Page Builder joomla

    You can use Page Builder CK and Image Effect CK together to add amazing effects to your images !

    Add an image in your page using the image addon that you can drag and drop in your page anywhere. Select your image using the options in the left panel.

  • Addon - Animated number

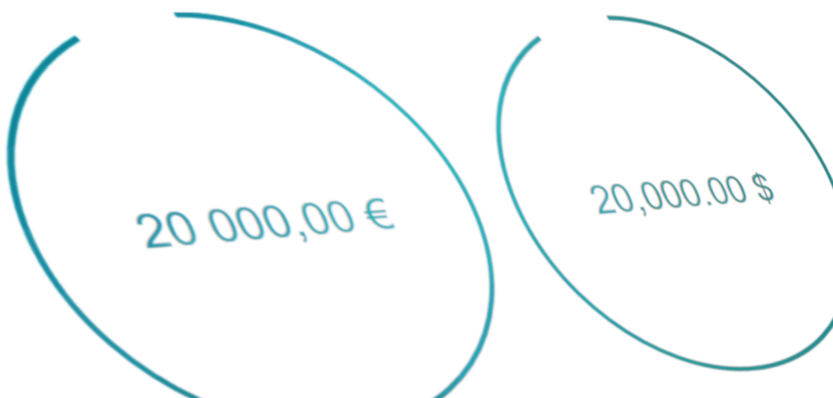
    animated number for joomla page builder

    Use Page Builder CK to create amazing animated numbers ! You can set up the options to make it look as you want. You can play with the color, circle diameter and width, start and end number value, and many more. See the details explanations.

  • Addon - FAQ

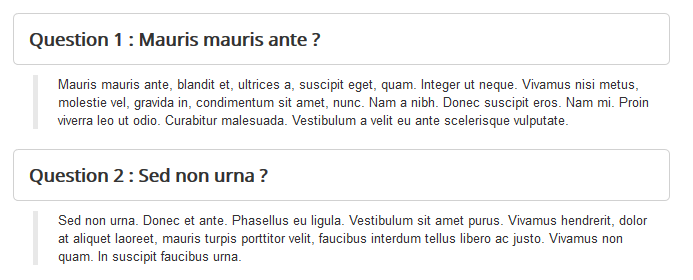
    FAQ addon for Page Builder CK

    Create questions and answers into your Joomla website and improve your SEO. According to the Google documentation about the FAQPage microdata, you can see how it looks like in the search result

  • Addon - Flipbox

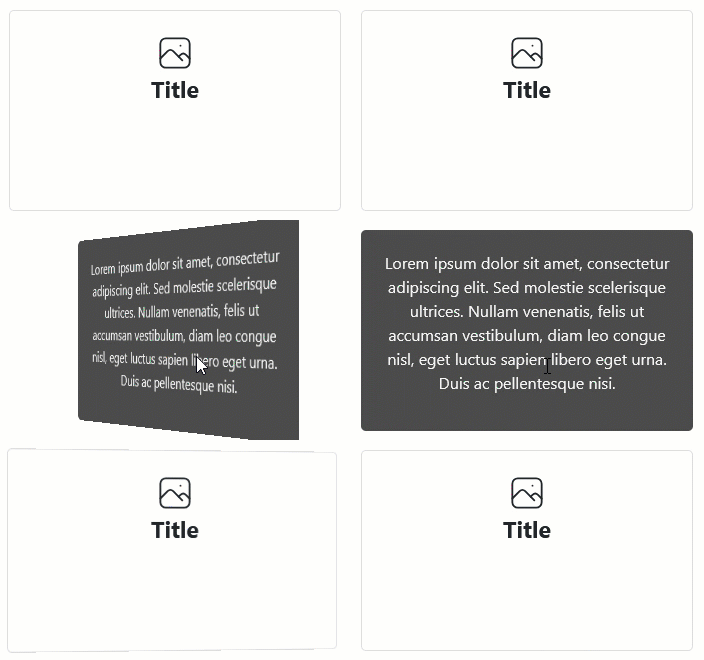
    demo flipbox animation

    You can use Page Builder CK to add a flipbox to your Joomla site.

  • Addon - Flipbox

    demo flipbox animation

    Vous pouvez utiliser Page Builder CK pour ajouter une flipbox à votre site Joomla.

  • Addon - Images gallery

    Create your own image gallery with Page Builder CK and the addon Gallery.

  • Automatically load the Google Fonts from the template

    GDPR compliance with Google Fonts

    Regarding the GDPR regulation, you must take care about how you are loading the data on your website, especially for the Google Fonts. Of course you can avoid to load it, but what if you want to load a Google font and be GDPR compliant ?

    Page Builder CK allows  you to get the Google fonts from your template automatically listed in the fonts list, and select it without having to load it from the page builder. You can manage any font from your template, load it directly from your own files on your own server. If you load the fonts from your own files and not from the Google server, then you are compliant with the GDPR regulation about the use of the Google Fonts.

  • Basic usage - Create my first content

    Use Page Builder CK into your article

    The best way to use Page Builder CK is to use your articles. This way you can use all the features from the articles (Multilanguage, ACL, menu link, etc).

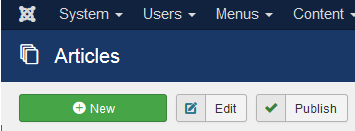
    Go in your Articles and click on the New button to create a new article :

    page builder basic articles

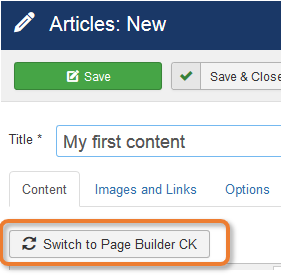
    Here you will see your default editor and then you can switch to the Page Builder CK editor using the button Switch to Page Builder CK

    page builder basic article new

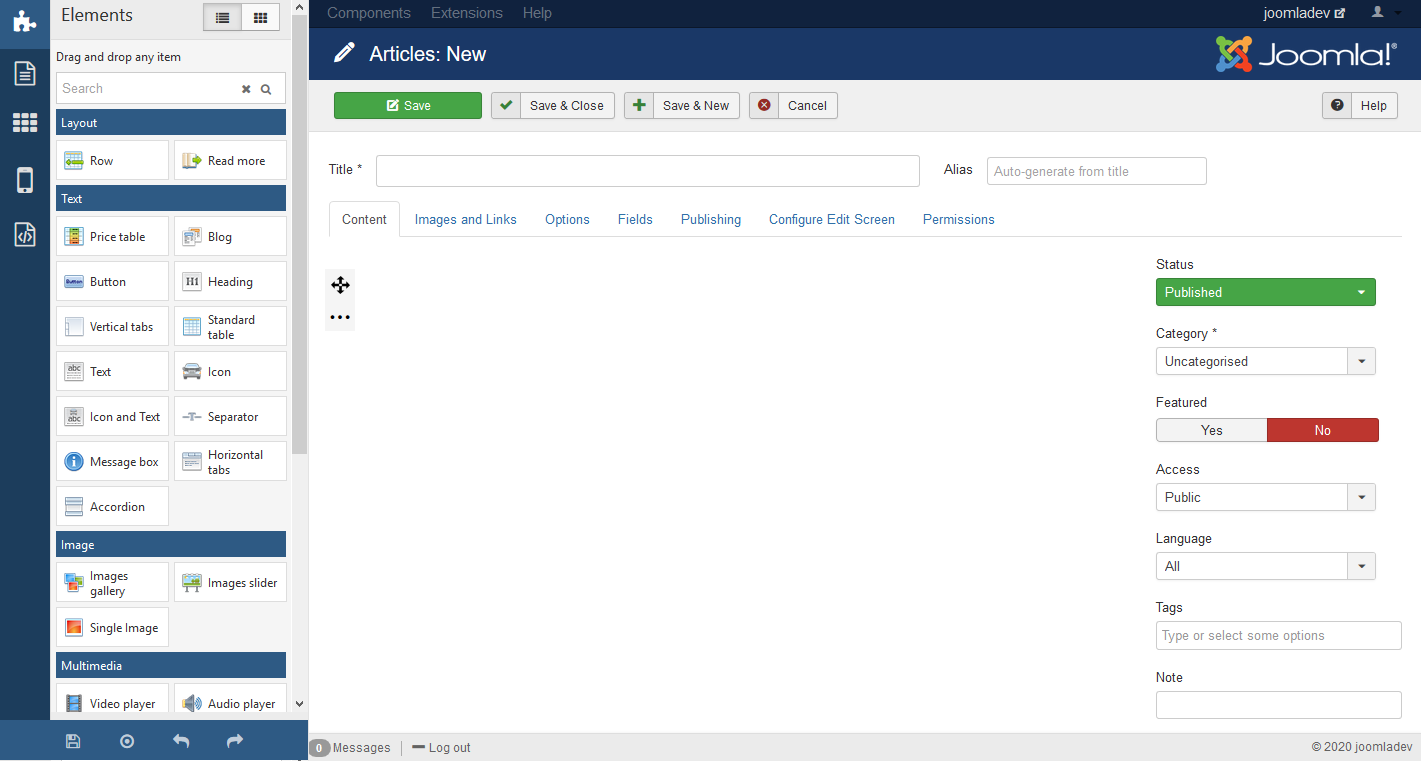
    The system will ask you to confirm because this action can not be reverted. Just click Yes to confirm and you will redirected to the new interface, directly into your article.

    page builder basic article empty

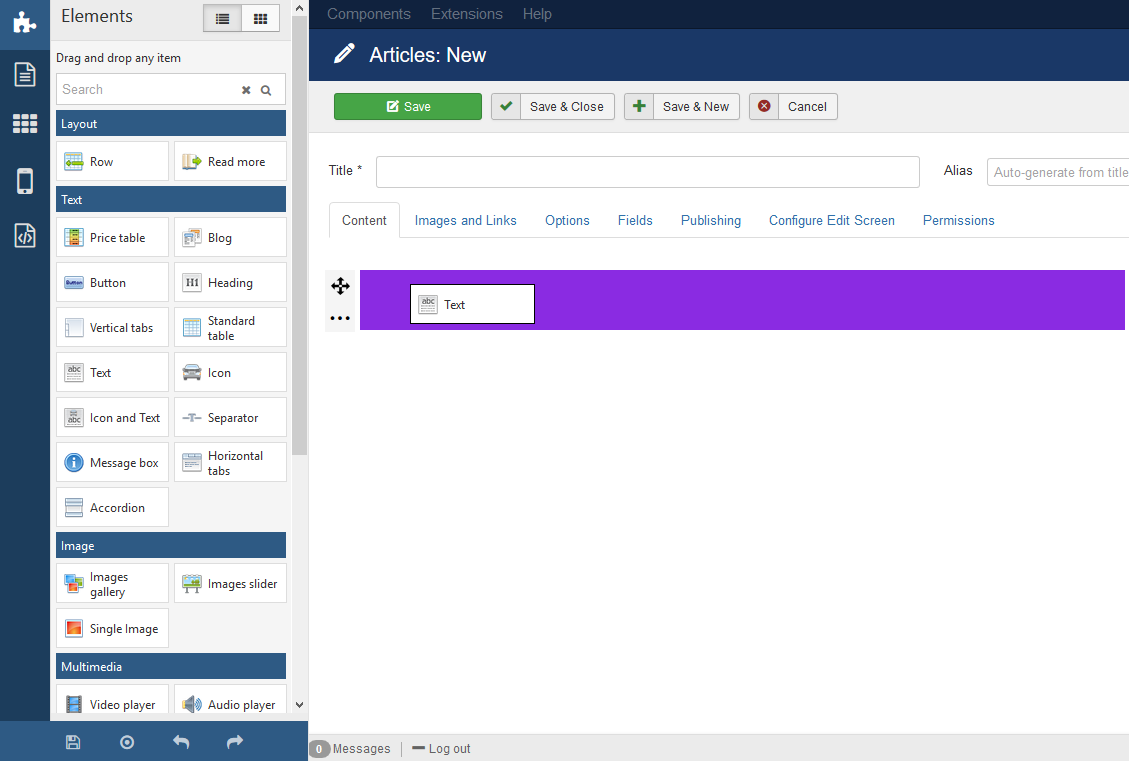
    On the left you can see the panel where you will have all options. You can drag and drop any element directly into your article.

    page builder basic drag block

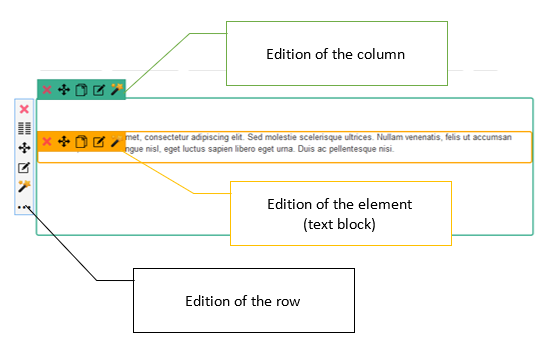
    You can hover the element (here a text block) to show the toolbars.

    page builder basic toolbar

    Just click on the text, and you will get the small inline editor. You can directly write your text in the block. This is fast and easy, with a minized editor.

    You can edit your text in 2 ways :

    • Click on the element to edit it inline with a small editor
    • Click on the edit icon of the orange toolbar to edit the text with a full editor in fullscreen

    Click on the Save button to store your article. It is done.


    Edit the text content

    Inline editor

    Just click on the text and you will activate the inline edition. Here you can write directly your text, without having to open any popup, nor validate anything. Just type and write.

    page builder basic inline text

    Note that it will only work with the editor Tinymce.

    Full editor

    If you need the full features of the editor, then you can edit the element by using the edition icon :

    page builder basic full editor icon

    This will open the edition popup where you can find every options. In the left panel, click on the Text edition button and it will show you the full editor. You can then use all the buttons to create your content and write your text. Once finished, click on the Save and Close button to apply your changes.

    page builder basic full editor preview

    Styling options

    If you click on the edition icon, on a row, column or element, then you will open the options in the left panel. Here you can style what you want.

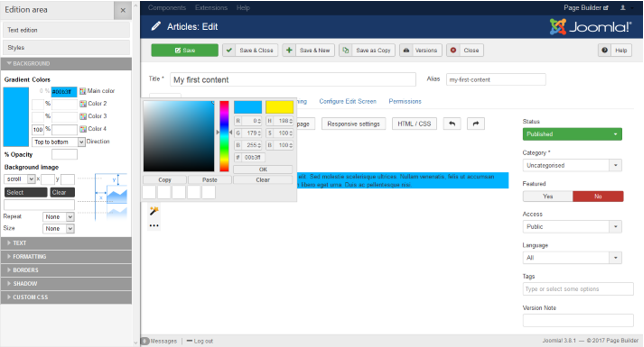
    page builder basic styling

    Use the options in the left panel and you will see it applied directly to your content with a direct preview. Once finished, you can close the edition area in the left panel.

    You don’t have to save anything, any style is directly applied instantly. If you want to cancel somes changes, then use the undo / redo buttons.


  • Charger automatiquement les polices Google à partir du template

    GDPR compliance with Google Fonts

    En ce qui concerne le règlement RGPD, vous devez faire attention à la façon dont vous chargez les données sur votre site Web, en particulier pour les polices Google. Bien sûr, vous pouvez éviter de le charger, mais que se passe-t-il si vous souhaitez charger une police Google et être conforme au RGPD ?

    Page Builder CK permet  vous permet d'obtenir les polices Google de votre template automatiquement répertoriées dans la liste des polices et de les sélectionner sans avoir à les charger à partir du page builder. Vous pouvez gérer n'importe quelle police à partir de votre template, la charger directement à partir de vos propres fichiers sur votre propre serveur. Si vous chargez les polices à partir de vos propres fichiers et non à partir du serveur Google, alors vous êtes conforme au RGPD concernant l'utilisation des polices Google.

  • Color palette

    color palette for your content in joomla with Page Builder CK

    You can define a set a 5 colors that you can use when creating your content. This is called the color palette.

    Your color palette in Page Builder CK has 3 features :

    • Set up manual colors for the current page / article / module
    • Set up the colors in the component options (shared between every page / article / module)
    • Automatically retrieve the colors from the template created with Template Creator CK (since version 4.0.22)
  • Comment activer le lazy loading pour les images

    lazy loading images

    Le lazy loading (traduction littérale "chargement paresseux" en français) est désormais une fonctionnalité native des navigateurs qui permet à vos images de se charger uniquement lorsque cela est nécessaire. Imaginez que vous avez une page avec 20 images, mais seulement 4 d'entre elles sont visibles au chargement de la page. Avec le chargement paresseux activé, le navigateur ne chargera que les 4 images et cela réduira beaucoup le chargement de la page ! Les autres images seront chargées sur demande au scroll, dès qu'elles arrivent dans la zone visible.

  • Comment créer sa propre librairie

    Bibliothèque personnalisée pour Page Builder CK

    Lorsque vous utilisez Page Builder CK pour Joomla, vous pouvez créer votre propre bibliothèque à utiliser sur votre site Web. Mais qu'est-ce qu'une bibliothèque et comment ça marche ? Voyons ça tous ensemble.

  • Comment utiliser les styles globaux

    joomla page builder styles

    En utilisant Page Builder CK pour Joomla, vous pouvez créer des styles sur n'importe quel élément (texte, accordéon, timeline, etc.) et enregistrer ce style pour l'appliquer à n'importe quel article Joomla ou page Page Builder CK. Vous pouvez utiliser ce style pour rendre vos éléments identiques sur toutes vos pages et les personnaliser en un seul endroit.

  • Context menu

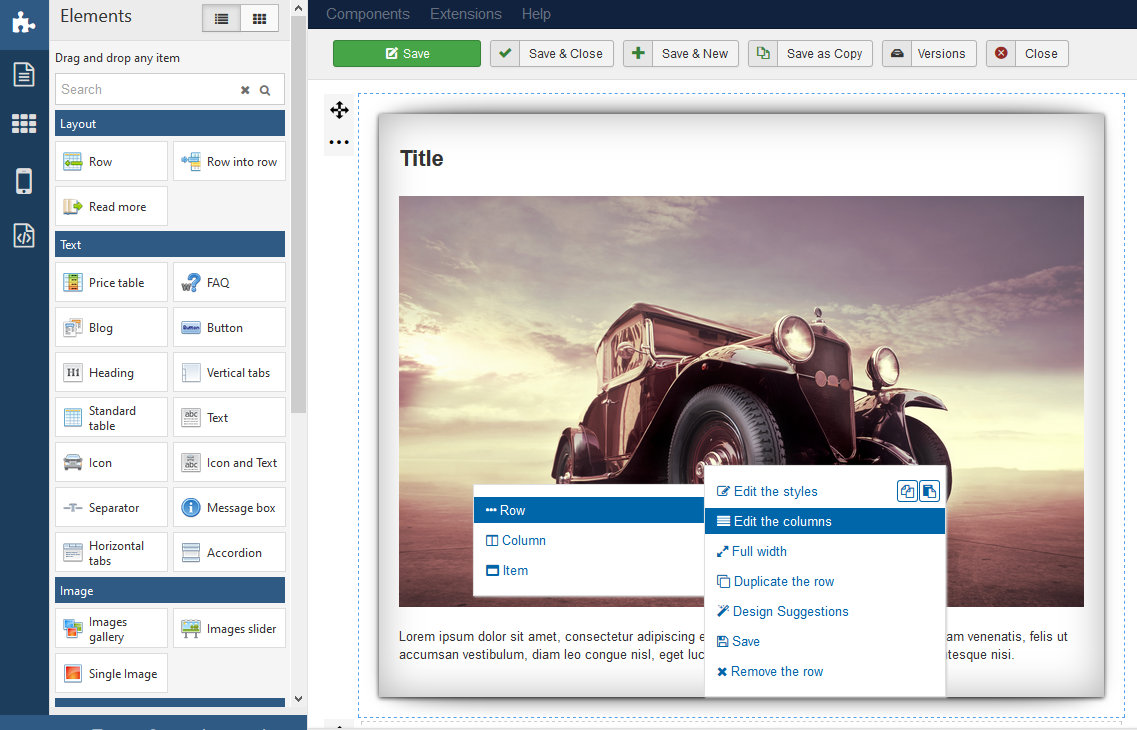
    page builder joomla context menu

    You can use the context menu to go faster by clicking the right side of your mouse and get a menu where you can do all the needed actions :

    • edit the styles
    • edit the item
    • edit the columns
    • duplicate
    • remove
    • save as element
    • design suggestions
    • fullwidth on the row
    • fast copy / paste for the styles
  • Custom columns width in responsive mode

    responsive columns width

    Using Page Builder CK you can create your own columns, give them the width you want. But you can also manage the columns width exactly as you want in responsive mode.

    For each resolution, you can setup your columns width and give them custom values. In the same row you can choose to have your columns like this : 25/75 + 70/30 dispatched on 2 lines. There is no limit !

  • Custom media folder for each user

    Page Builder - Private media images folder per user

    When using a website with multiple users, you may want them to access to the edition to publish some content. But what about the medias upload ? The best solution is to get one media folder per user, and you can do that with Page Builder CK.

  • Direct link to open selected tab

    Direct link to open selected tab

    You can use the tabs to show your content and give the user the ability to select what to read by clicking each tab. But how to do if you want to give the direct url that opens the desired tab ? You can do it using Page Builder CK !

  • Edition interface overview of Page Builder CK

    When you are editing your content using Page Builder CK, you must use the left panel and all the buttons from the interface. We will explain the main features here.

  • Elément - Blog

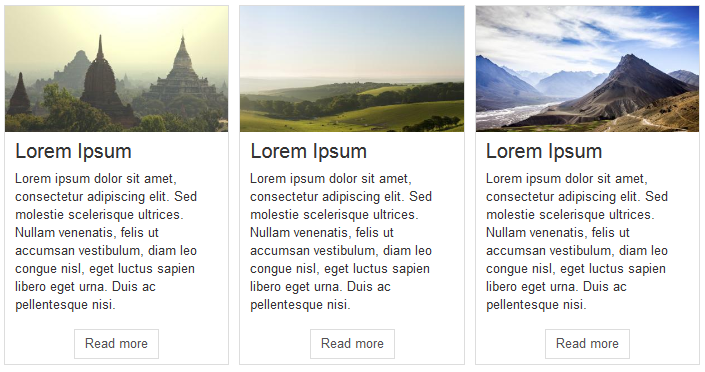
    Blog addon for Page Builder CK

    Créez un impressionant blog pour afficher vos articles. I suffit de glisser et déposer l'élément de type blog dans votre page et le tour est joué ! Sélectionnez ensuite le nombre d'articles, la catégorie source, le nombre de colonnes, etc...

  • Elément - Galerie d'images

    Créez votre propre galerie d'images avec Page Builder CK et l'addon Gallery.

  • Enable editor buttons in JCE

    You can use the editor buttons whithin JCE when using Page Builder CK. For this you will need JCE PRO

    Then in the JCE configuration you must enable the Joomla Editor - XTD button in the profile that you are using :jce config editor buttons

  • Full width and fixed width rows

    full width rows in page builder

    The most recent designs are using even more full width areas to show everything. Sometime the background color is full width but the content is boxed and limited to a standard width, and sometimes the content is as large as the page (example for a slideshow). You can do all that with Page Builder CK.

    This article will explain you how to do that, but it will especially explain you that the "fullwidth" design is also related to your template. Of Couse Page Builder CK is fully compatible with Template Creator CK.

    On each row (of first level) you can choose how do you want it to be :

    • Fullwidth (by default)
    • Fullwidth with Javascript (forces to the screen size)
    • Fixed content width : value by default in the component option, or specific value for each row
    • Fixed content width, automatic with the template created with Template Creator CK
  • Gestionnaire de polices Google

    Google font manager for joomla

    Comment utiliser le gestionnaire de polices Google


    Depuis la version 3 de Page Builder CK, vous pouvez utiliser un gestionnaire de polices Google où sont répertoriées toutes les polices de Google. Vous pouvez rechercher n'importe quelle police et l'installer sur votre site Web.

    Vous aurez 2 possibilités pour charger vos polices :

    • Depuis le serveur Google  : c'est la méthode la plus utilisée, elle appellera les fichiers de Google directement sur leur serveur
    • Depuis votre propre site Web  : cette méthode téléchargera les fichiers et les placera physiquement sur votre serveur. Ils seront appelés depuis votre propre site Web et il n'y aura aucun lien vers le serveur de Google. Ceci est conforme à la réglementation RGPD concernant les polices Google.

    Vous pouvez appeler le gestionnaire de polices Google n'importe où dans votre site Web Joomla (articles, pages, module), à n'importe quel endroit où l'éditeur Page Builder CK est chargé. Pour ce faire vous pouvez modifier les styles d'un élément (complément, colonne, ligne) et aller dans les options Styles de texte >> cliquez sur le bouton Gestionnaire.

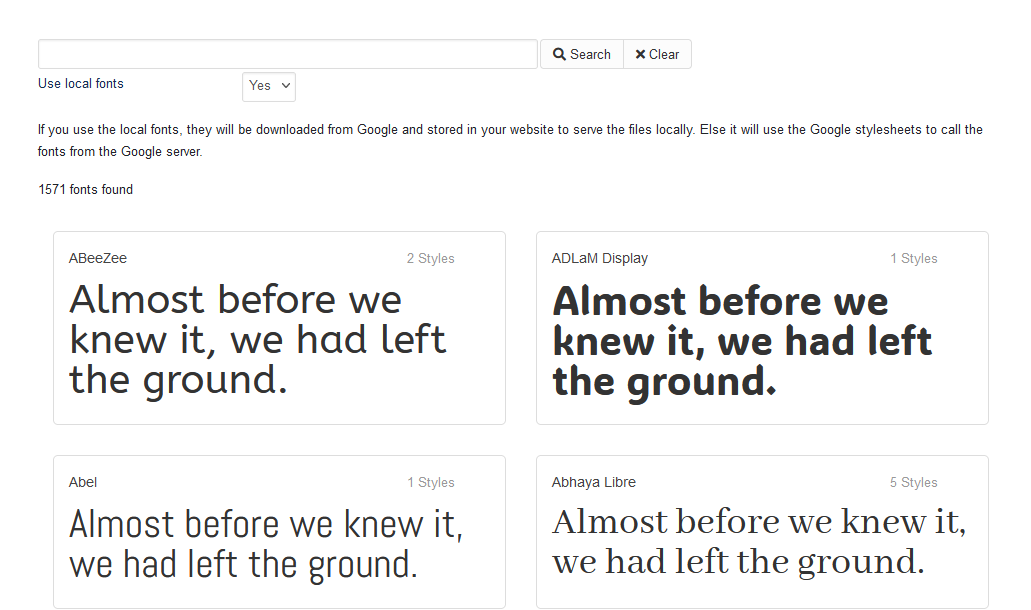
  • Google Fonts manager

    Google font manager for joomla

    How to use the Google Font manager


    Since the version 3 of Page Builder CK, you can use a Google Font manager where all the fonts from Google are listed. You can search for any font and install it in your website.

    You will get 2 possibilities to load your fonts :

    • From the Google server : this is the most used method, it will call the files from Google directly on their server
    • From your own website : this method will download the files and put them physically on your server. They will be called from your own website and there is no link to the Google server. This is compliant with the GPDR regulation about the Google Font.

    You can call the Google Font manager anywhere in your Joomla website (articles, pages, module), in any place where you have the Page Builder CK editor loaded. To do that you can edit the styles of an item (addon, column, row) and go in the Text Styles options >> click on the button Manager.

  • How to activate lazy loading for the images

    lazy loading images

    The lazy loading is now a native feature in the browsers that allow your images to load only when it is needed. Imagine that you have a page with 20 images, but only 4 of them are visible on page load. With the lazy loading enabled, the browser will only load the 4 images and then reduce the page load a lot ! The other images will be loaded when requested on scroll, as soon as they come in the visible area.

  • How to create your own library

    Custom library for Page Builder CK

    When using Page Builder CK for Joomla, you can create your own library to use in your website. But what is a library and how it works ? Let's see that all together.

  • How to use Pixabay for your images

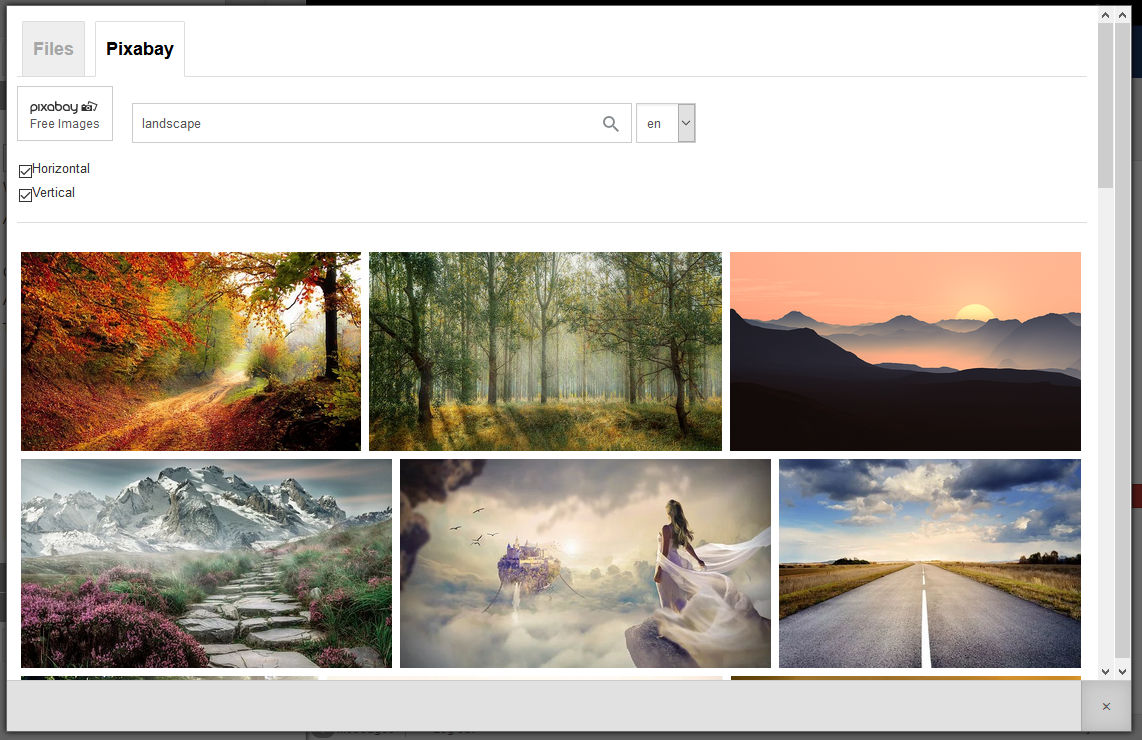
    Pixabay images with Page Builder CK for Joomla

    Pixabay is a wonderful stock of free images where you can find and use millions of free images. Thanks to an API developped by Pixabay you can browse all the royalty free images directly from the interface of Page Builder CK and download it in your website with one click.

    Using Pixabay in Page Builder CK features :

    • Browse millions of free photos
    • Download of the image in your website folder with one click
    • Compatible with EIR (Easy Image Resizer) to automatically resize your image on download
    • Caching of requests for a higher speed when displaying images
    • Lazy loading of images with infinite scroll
    • Compatible multilanguage for the search : you can select your language
    • Compatible ACL : define who has the rights to use it
  • How to use the global styles

    page builder joomla styles

    Using Page Builder CK for Joomla, you can create some styles on any addon item (text, accordion, timeline, etc) and save this style to apply it to any joomla article or Page Builder CK page. You can use this style to render your items the same on all your pages and customize them in one place.

  • How to use the Googlemap API Key

    How to use the Googlemap API Key

    To use the Google Map service you must have a Google account and ask for an API Key.

    First, login here : https://console.developers.google.com

    Then click on the "Google Maps Javascript API"

    Follow the steps to create a project for your website and ask for a "Server Key". Once you have your key you must activate it.

    Now you have your KEY to load a Google Map. But you can still not search for locations. To use the automatic geolocation (which retrieves the Latittude and Longitude using a Location name), you must also activate the "Google Maps Geocoding API"

    That's all, you can know copy / paste your API Key given by Google into the field in Page Builder CK.

  • Icones SVG

    Page Builder CK - SVG icons for Joomla

    Si vous souhaitez utiliser des icônes dans votre page, vous pouvez choisir 2 façons de le faire :

    • Charger une police d'icônes avec CSS (par exemple Fontawesome comme police) et utiliser des classes CSS pour afficher les icônes
    • Charger le code SVG de l'icône dans la page HTML


    Alors que faire ? Quel est le meilleur ?

    Cas 1 : Si vous utilisez déjà une police d'icônes telle que Fontawesome dans votre site Web à d'autres fins, vous pouvez continuer à l'utiliser. Il n'y aura pas de charge supplémentaire.

    Cas 2 : Si vous n'utilisez pas encore une police d'icônes, vous devriez plutôt utiliser les icônes SVG.

  • Largeur des colonnes personnalisées en mode responsive

    largeur de colonnes responsive

    À l'aide de Page Builder CK vous pouvez créer vos propres colonnes, et leur donner la largeur souhaitée. Mais vous pouvez également gérer la largeur des colonnes exactement comme vous le souhaitez en mode responsif (sur tablette et téléphone).

    Pour chaque résolution, vous pouvez configurer la largeur de vos colonnes et leur donner des valeurs personnalisées. Dans la même ligne, vous pouvez choisir d'avoir vos colonnes comme ceci : 25/75 + 70/30 réparties sur 2 lignes. Il n'y a pas de limites !


  • Lien sur rangée ou colonne

    joomla page builder link

    Vous pouvez créer du contenu dans une colonne en utilisant plusieurs addons (texte, image, etc.) et ensuite vouloir avoir un lien qui s'applique à toute la zone de contenu. Ceci est possible en utilisant Page Builder CK. Cette option est disponible sur une ligne ou sur une colonne.

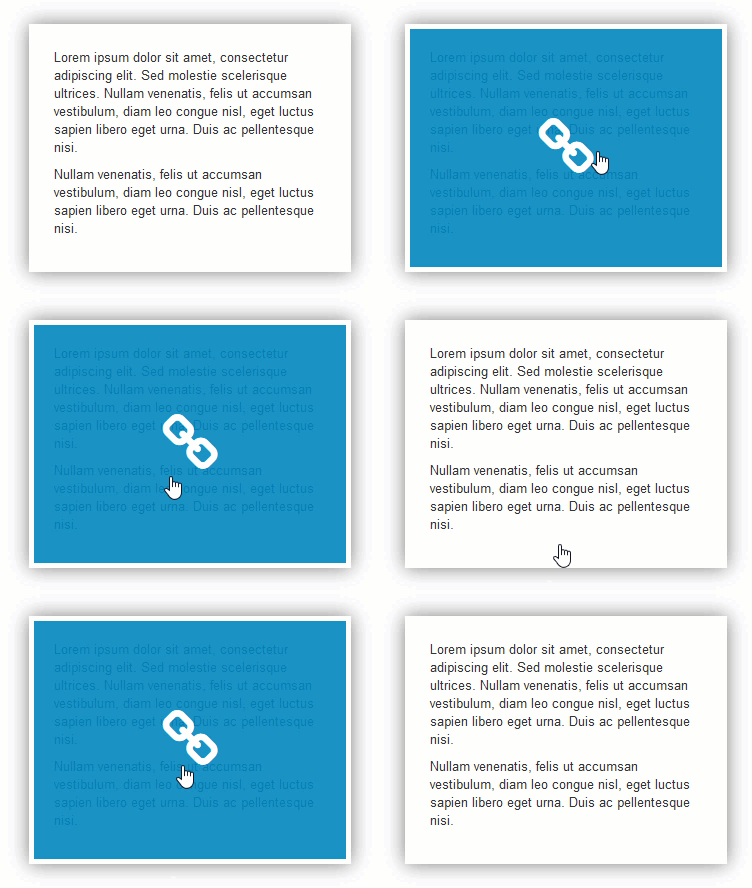
  • Link on row or column

    joomla page builder link

    You can create some content into a column using multiple addons (text, image, etc... ) and then want to have a link that apply to the whole content area. This is possible using Page Builder CK. This option is available on a row or on a column.

  • Menu contextuel

    page builder joomla context menu

    Vous pouvez utiliser le menu contextuel pour aller plus vite en cliquant sur le côté droit de votre souris et obtenir un menu où vous pouvez effectuer toutes les actions nécessaires :

    • modifier les styles
    • modifier l'élément
    • éditer les colonnes
    • dupliquer
    • supprimer
    • enregistrer comme élément
    • suggestions de conception
    • pleine largeur sur la ligne
    • copier / coller rapide pour les styles
  • Nested rows

    page builder nested rows

    Use Page Builder CK to create unlimited designs. You can have nested rows (rows in rows) with an unlimited number of imbricated levels.

    Just drag and drop your new Row from the left panel into the parent row, and that's it.

    You can :

    • Add a row in the page container
    • Add a row in another row
    • Manage the columns in every row
    • Move a row from the page container to another row
    • Move a row from a parent row to the page container
    • Move a row from a parent row to another row
  • Optimization for SEO

    Optimization SEO Page Builder

    Nowadays you can not create a website without taking care about how your SEO score. To help you in improving your SEO, Page Builder CK introduces a new feature to compile the CSS. This means that all the CSS fields and the inline styles generated from the component will be stored into one single file (per page). This reduces the number of server requests.

  • Order your addons in the left panel

    Order addons in the page builder

    When using Page Builder CK, you have to drag and drop the addons from the left panel into your content. By default the addons are not in a defined order.

  • Override your content in your template

    Page Builder - Override your content in your template

    You shall know about the template override in Joomla! that allows you to change the html code that is rendered in the page. This technique is based on files that you shall put in your template and that will be used instead of the ones from the extension. Since the version 2.12.0 of Page Builder CK, you can now use an override technique to control the output from your template !

  • Plugin development - Overview

    Plugin development - Overview

    You can develop a Page Builder CK plugin to extend the functionnality of the interface and add your own element type. For example if you want to add an element to show a Google Map.

    You will have to create the main plugin file with the needed functions :


    onPagebuilderckAddItemToMenu()

    This will render the item in the menu to drag and drop in the page.

    	public function onPagebuilderckAddItemToMenu() {
    // load the google map API (must be unique in the page)
    $doc = JFactory::getDocument();
    $doc->addScript("https://maps.googleapis.com/maps/api/js");
    // load the language files of the plugin
    $this->loadLanguage();
    // create the menu item
    $menuitem = new stdClass();
    $menuitem->type = $this->type;
    $menuitem->title = JText::_($this->context . '_MENUITEM_TITLE');
    $menuitem->description = JText::_($this->context . '_MENUITEM_DESC');
    $menuitem->image = JUri::root(true) . '/plugins/pagebuilderck/googlemap/assets/images/map.png';

    return $menuitem;
    }

    Here we create an object $menuitem that will be used to create automatically the menu item in the interface.

    There is also a call to the google map api script. This could also be launched in the constructor function.

    onPagebuilderckLoadItemContent[plugin name]()

    This function will return the html code to put in the interface when the user drag and drop the item. This is what will be shown in the page in edition mode.

    	public function onPagebuilderckLoadItemContentGooglemap() {
    // ckstyle and inner classes are needed to get the styles from the interface
    $input = JFactory::getApplication()->input;
    $id = $input->get('ckid', '', 'string');
    ?>
    <div id="<?php echo $id; ?>" class="cktype" data-type="<?php echo $this->type ?>">
    <div class="ckstyle">
    </div>
    <div class="googlemapck inner">
    <img style="display:block;margin: 0 auto;" src="/<?php echo JUri::root(true); ?>/plugins/pagebuilderck/googlemap/assets/images/google_map_exemple.jpg" width="100%" height="auto" />
    <div class="googlemapmarkertitleck"></div>
    <div class="googlemapmarkercontentck"></div>
    </div>
    </div>
    <?php
    }

    The variable "ckid" is automtically sent by the interface to be sure that there is no duplicate ID in the page. Then you can create the html structure that you want.

    To use the automatic styling of the interface for the block, you must have add the "inner" css class to the html tag that is directly under the <div id="<?php echo $id; ?>" /> element and and add also the <div class="ckstyle" /> under it.

    The data-type attribute is used to identify which type of element is in the page. This is needed on your main tag.

    onPagebuilderckLoadItemOptions[plugin name]()

    This will load the interface with all options to manage the item features. Mainly it will load the file "edit_[plugin name].php" located in the folder "layouts" of the plugin. But you can write the html directly into the function or call another file.

    It will render what the user see when clicking on the edit button of the item.

        public function onPagebuilderckLoadItemOptionsGooglemap() {
            // load the language files of the plugin
            $this->loadLanguage();
            // load the interface for the options
            $tpl = JPATH_SITE . '/plugins/pagebuilderck/googlemap/layouts/edit_googlemap.php';
            return $tpl;
        }

    Here we are just calling the "edit_googlemap" file where all options are displayed and managed. The structure of this file can be found here.

    onPagebuilderckRenderItem[plugin name]()

    This will manage the frontend rendering. You can choose to show exactly what has been created in the interface page, or to show something totally different based on the options.

    If you want to render exactly the same as what is shown in the interface (for example usefull for text, image, anything what does not need to be reworked) you can use the following function :

        public function onPagebuilderckRenderItem[plugin name]($item) {
            $html = $item->innertext;

            return $html;
        }

    Else you can render what you want based on the item element that is in the interface. Example with the google map, which gets the infos and then render a real map instead of the interface where there is only an image.

        public function onPagebuilderckRenderItemGooglemap($item) {
            // load the helper to help us to use the parameters
            include_once JPATH_ADMINISTRATOR . '/components/com_pagebuilderck/helpers/pagebuilderckfront.php';

            // load the google map API (must be unique in the page)
            $doc = JFactory::getDocument();
            $doc->addScript("https://maps.googleapis.com/maps/api/js");

            // ckstyle and inner classes are needed to get the styles from the interface
            $ckstyle = $item->find('.ckstyle');
            $styles = count($ckstyle) ? $ckstyle[0]->innertext : '';

            // get the content of the marker
            $content = $item->find('.googlemapmarkercontentck');
            $content = count($content) ? $content[0]->innertext : '';

            $mapattrs = $item->find('.tab_map'); // this is the tab id in the interface which contains the map options
            $params = PagebuilderckFrontHelper::createParamsFromElement($mapattrs);

            $html = '<style>
              #googlemap'.$item->attr['id'].' {
                width: ' . $params->get('mapwidth', '500px') .';
                padding-bottom: ' . $params->get('mapheight', '400px') .';
                height: 0;
                overflow: hidden;
              }
            </style>
            <div class="ckstyle">
                '. $styles . '
            </div>
            <div class="googlemapck inner">
                <div id="googlemap'.$item->attr['id'].'"></div>
            </div>
            <script>
            function ck_map'.$item->attr['id'].'_initialize() {
                var mapCanvas = document.getElementById("googlemap'.$item->attr['id'].'");
                var mapOptions = {
                    center: new google.maps.LatLng(' . $params->get('latitude') . ', ' . $params->get('longitude') . '),
                    zoom: ' . (int) $params->get('mapzoom', 8) . ',
                    mapTypeId: google.maps.MapTypeId.ROADMAP
                }
                var map = new google.maps.Map(mapCanvas, mapOptions);
                var marker = new google.maps.Marker({
                    map: map,
                    position: new google.maps.LatLng(' . $params->get('latitude', '44.5403') . ', ' . $params->get('longitude', '-78.5463') . '),
                    title: \'' . $params->get('markertitle', '') . '\'
                });
                if (\'' . $content . '\') {
                    var infowindow = new google.maps.InfoWindow({
                        content: \'' . $content . '\'
                    });
                    marker.addListener(\'' . $params->get('markershowon', '') . '\', function() {
                        infowindow.open(map, marker);
                    });
                }
            }
            google.maps.event.addDomListener(window, "load", ck_map'.$item->attr['id'].'_initialize());
            </script>';
            return $html;
        }

    The $item variable sent to this function is a simple_html_dom element. You can find more infos on how to use here on the project page

    http://simplehtmldom.sourceforge.net/

    For example you can search for an element like this

    $ckstyle = $item->find('.ckstyle');

    and then return its content

    $ckstyle[0]->innertext

    To get the params (options set by the user in the interface) you can use this

    $mapattrs = $item->find('.tab_map'); // this is the tab id in the interface which contains the map options
    $params = PagebuilderckFrontHelper::createParamsFromElement($mapattrs);
    $params->get('mapwidth', '500px')

    First you have to know in which edition tab you have put the options (see the file "edit_googlemap.php"). Here we are looking for the "tab_map" tab which is in fact the html ID of the container element where the options are shown.

    Just call the function "createParamsFromElement" to create automatically the Object from the options. Then you can get the value with the "get" function like any other Joomla! JRegistry element.

    Here you can see the typical plugin strcuture with the files and folders. It would be good to follow this structure to have a global way to do for all plugins.

  • Remplacer votre contenu par surcharge

    Page Builder - Override your content in your template

    Vous devez connaître la technique d'override (ou surcharge en français) dans Joomla! qui vous permet de changer le code html qui est rendu dans la page. Cette technique est basée sur des fichiers que vous mettrez dans votre template et qui seront utilisés à la place de ceux de l'extension. Depuis la version 2.12.0 de Page Builder CK, vous pouvez désormais utiliser une technique de substitution pour contrôler le code de votre page!

  • Setup user access on each item

    user rights

    You can control the way each row can be accessed by the users. For each usergroup you can define if the user has the rights to edit it, and also the rights to view it in frontend.
    You can also use the ACL of the component to decide who can use this feature.

  • Shape divider

    Create some amazing web designs using the Shape divider

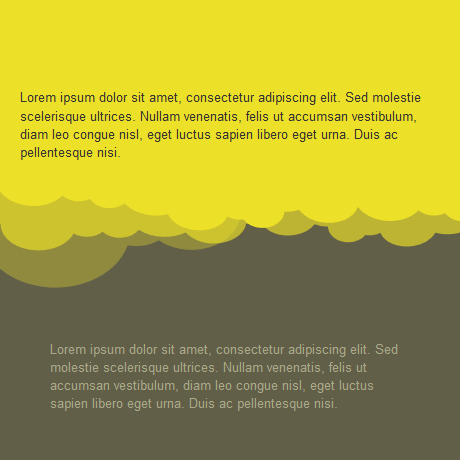
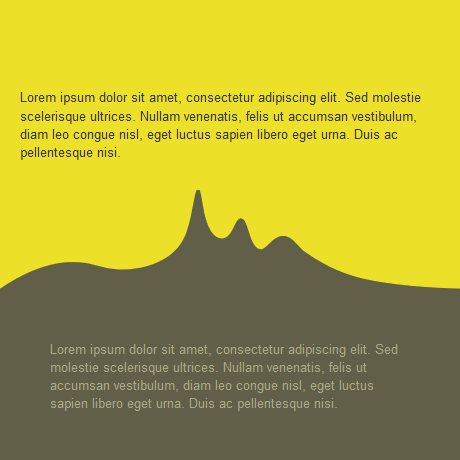
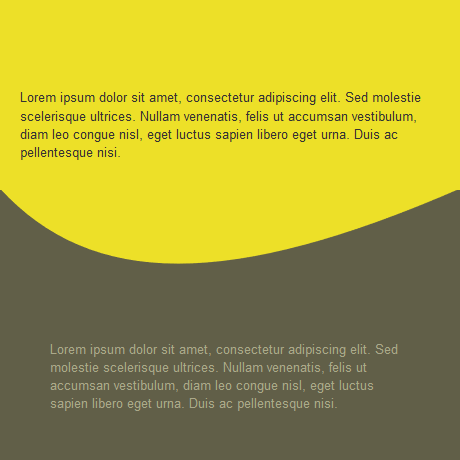
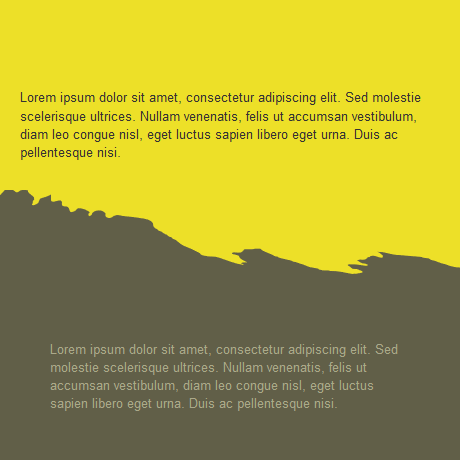
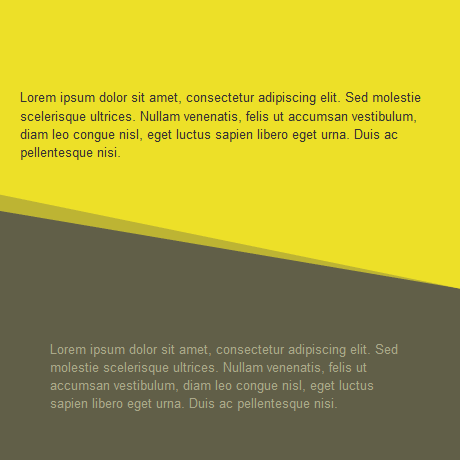
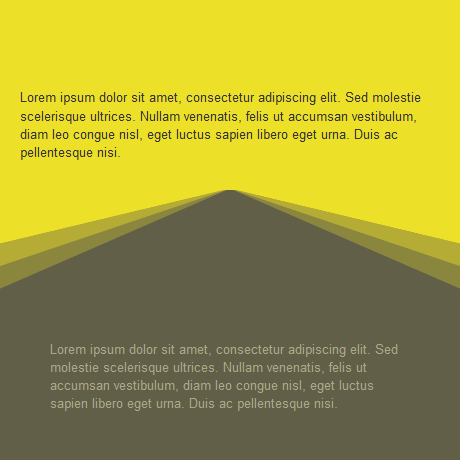
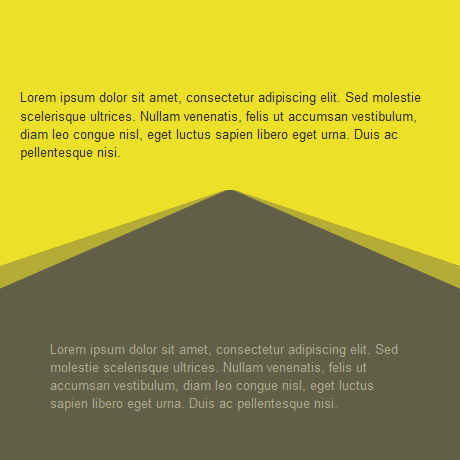
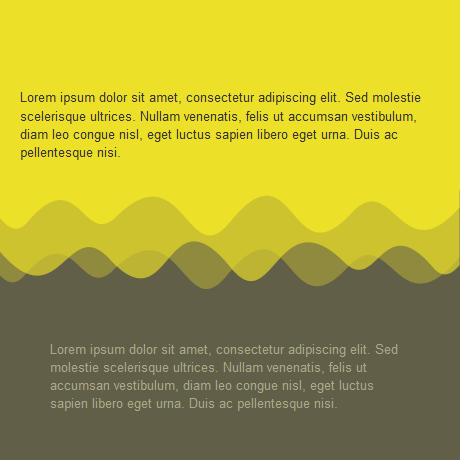
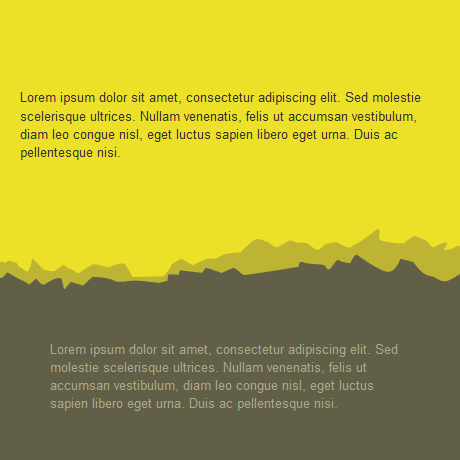
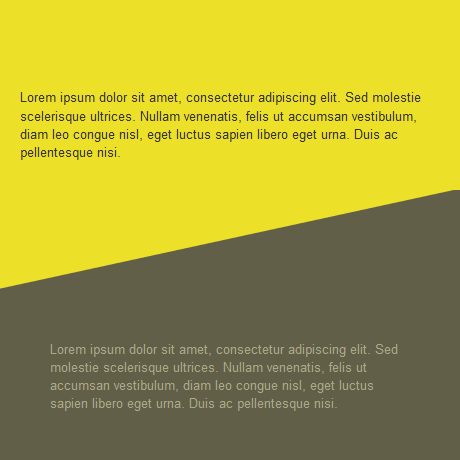
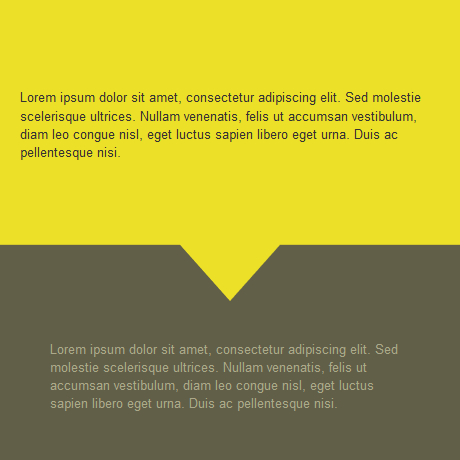
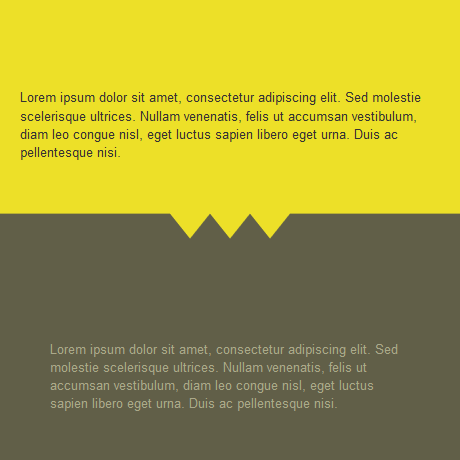
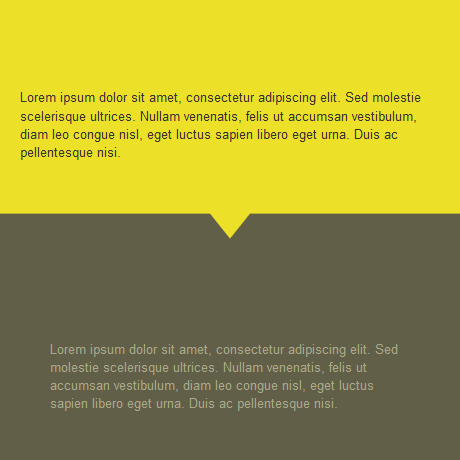
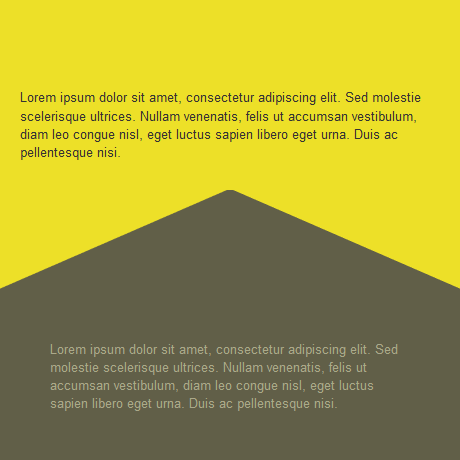
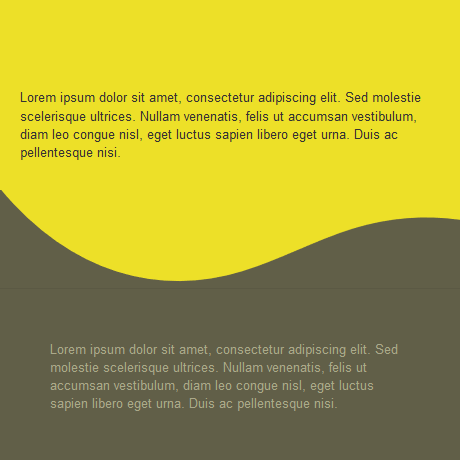
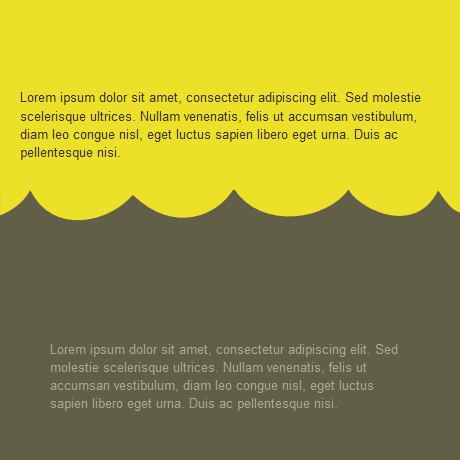
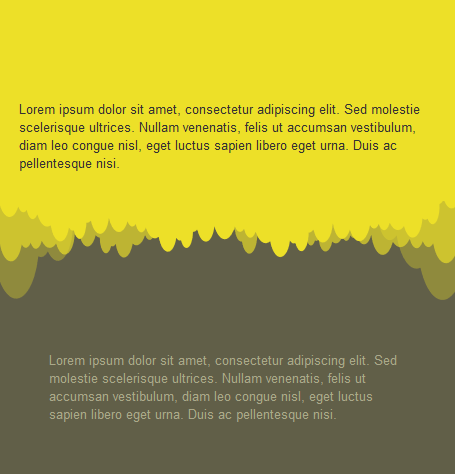
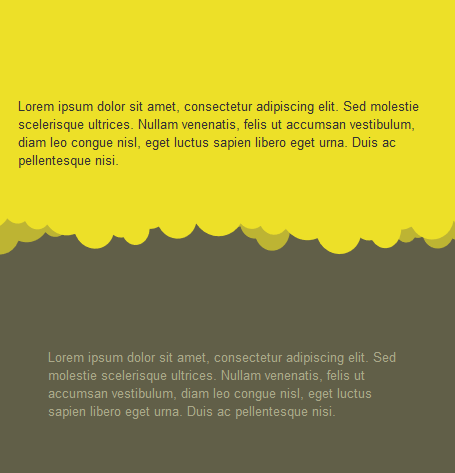
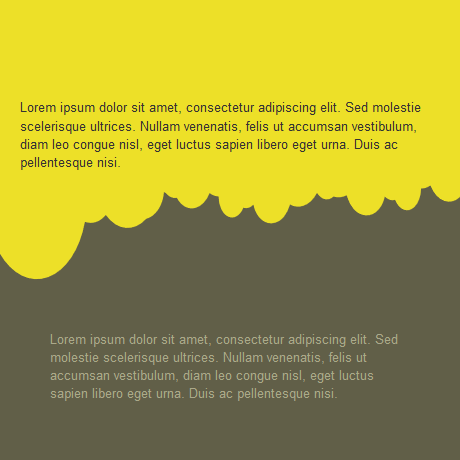
    Shape divider are graphical parts that you can add to separate the sections of your page. Hereafter is a preview of the shape dividers that are available into Page Builder CK.

     Examples of shape dividers

    shape asymetric slope shape cloud shape clouds shape drip shape ellipse shape mountain shape multiple slope shape multiple v3 slope shape multiple v slope shape multiple waves shape paper shape slope shape triangle shape triangle 3 shape triangle small shape v slope shape wave shap bridge


    How to add a shape divider

    Create at least 2 sections (rows) in your page.

    2 sections

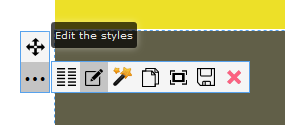
    Edit the CSS styles of the bottom section

    css edition

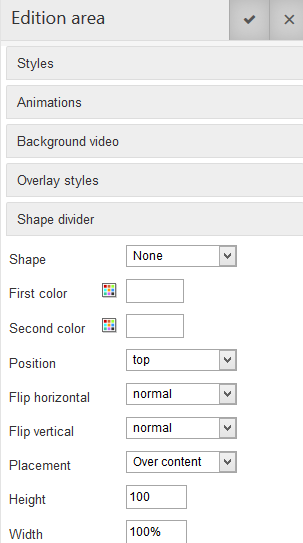
    You will open the left panel where you will find the tab for the Shape divider

    edition panel

    List of options

    • Shape : select the shape that you want to use in the list
    • First color : this is the main shape color to fill the shape with
    • Second color : you can force the second color (mainly like a background color). In many cases you don't need it
    • Position : choose if you want the shape to take place at the top of the bottom of your section
    • Flip : normal or inverse, choose what you want
    • Placement : this will put the shape under the content (for example text over the shape), or the shape over the content (for example that cuts an illustration)
    • Height : this value can be set in % or px. By default it will be 100px, you can play with it to get the desired result
    • Width : this value can be set in % or px. By default it will be 100px, you can play with it to get the desired result. Note that a width in % will stretch the shape as a width in px will keep the shape ratio and cut it off


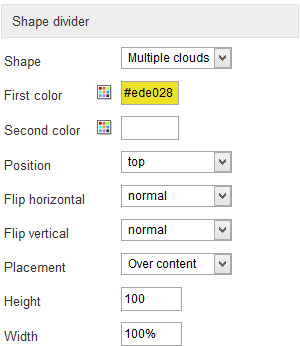
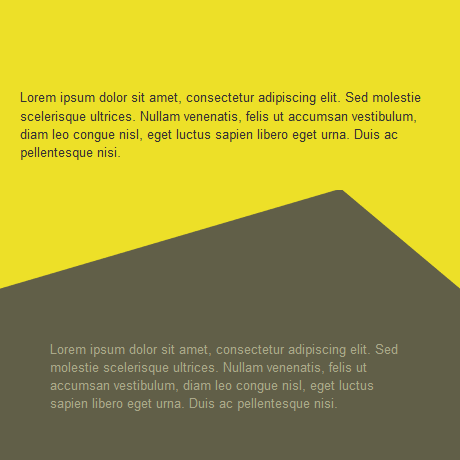
    Hereafter you will get the options to create a simple cloudy divider :

    shape coulds simple

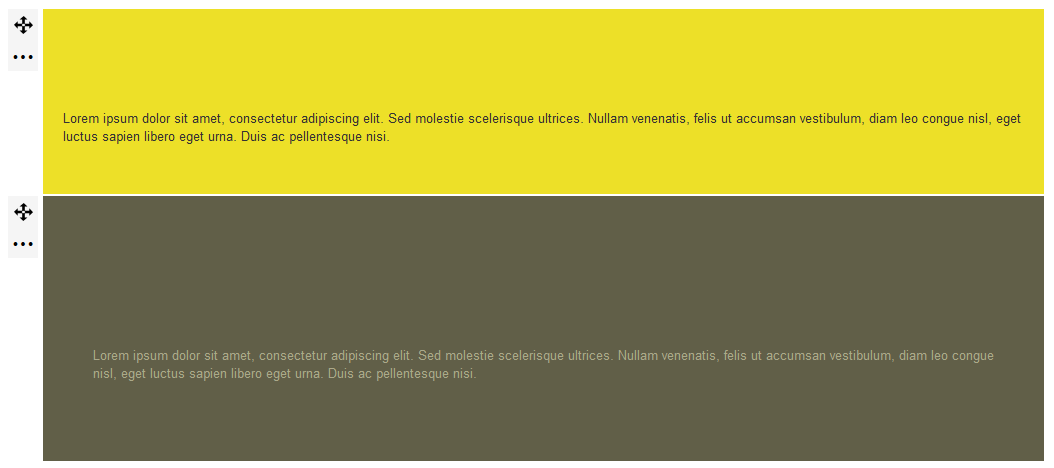
    Example with 100% width

    demo clouds percent

    Example with 1000px width

    demo clouds 1000

  • SVG icons

    Page Builder CK - SVG icons for Joomla

    If you want to use icons in your page, you can choose 2 ways to do it :

    • Loading an icons font with CSS (for example Fontawesome as a font) and use CSS classes to show the icons
    • Loading the SVG code of the icon in the HTML page


    So what to do ? What is the best ?

    Case 1 : If you are already using an icons font like Fontawesome in your website of other purposes, then  you can continue to use it. There will be no additional load.

    Case 2 : If you are not yet using an icons font then you shall prefer to use the SVG icons.


  • Use a module for Page Builder CK

    You can use a custom module to load a page anywhere in your website, in a module position. This is easy to do and you can also edit the interface directly from the module.


    Create a custom module


    Go in the Joomla Modules manager >> New

    new module


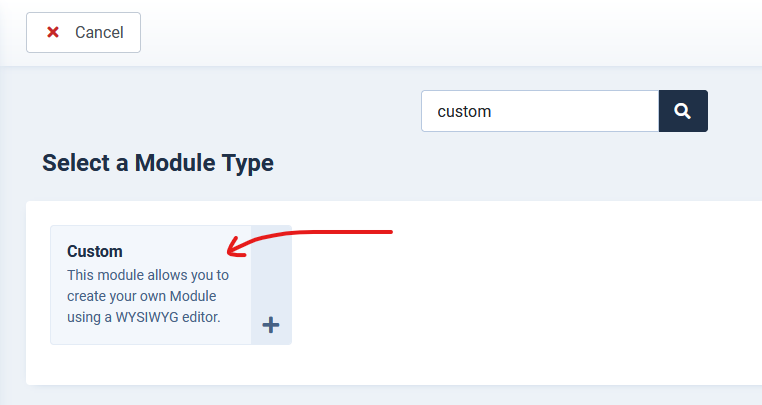
    Search for the Custom module

    custom module select

    Give it a name, a position, and save it to create the module.


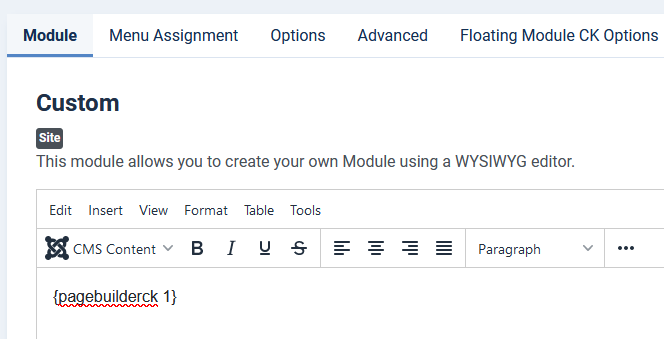
    Add the Page Builder CK tag

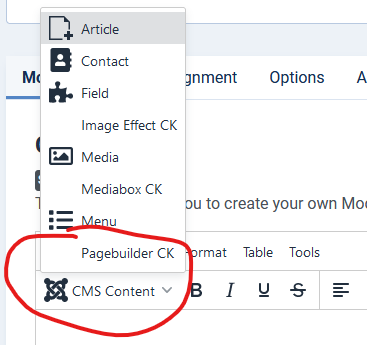
    You can use the editor button to load an existing page or to create a new page.

    button editor

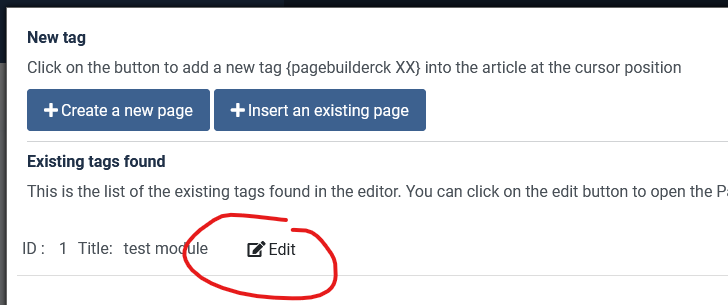
    It will open a popup where you can choose to create a new page or load an existing page from the list.

    popup

    Once you have selected the page that you want to use, the Page Builder CK tag will be added automatically to your editor content

    tag in module


    Enable the prepare content

    You will need to enable the Prepare content option to make the tag rendered in the front of your website.

    prepare content


    Edit the content

    You can go in the Page Builder CK component, find the page and edit it. But you can also edit it directly from the module by using the editor button.

    popup edit button

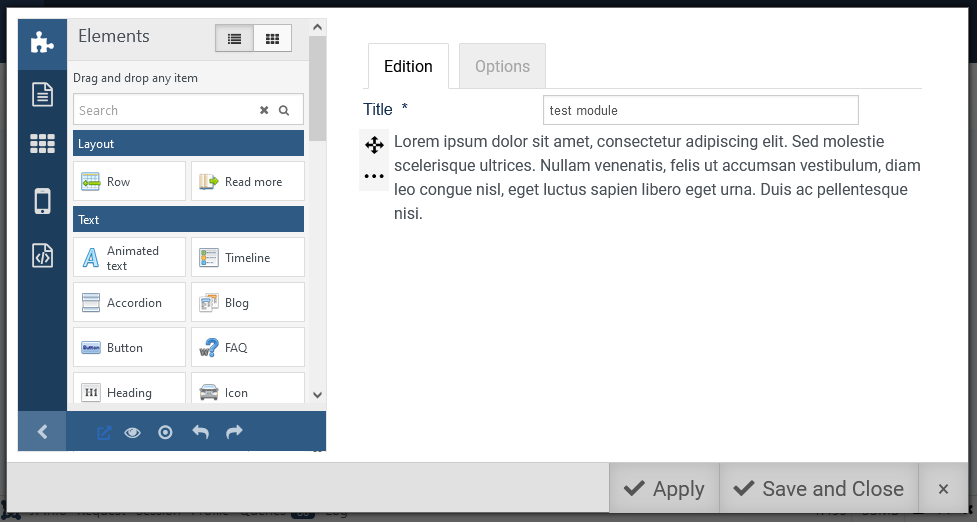
    When you click on the Edit button, it will open the popup where you can edit your page directly in the Page Builder CK interface.

    popup edition


    You don't need to navigate trough multiple pages in the Joomla administration, you can do what you need directly from the module.


    Download Page Builder CK


  • Utiliser les boutons éditeur avec JCE

    Vous pouvez utiliser les boutons de l'éditeur dans JCE lorsque vous utilisez Page Builder CK. Pour cela vous aurez besoin de JCE PRO

    Ensuite dans la configuration JCE vous devez activer le bouton Joomla Editor - XTD dans le profil que vous utilisez :

    jce config editor buttons

  • Utiliser un module pour Page Builder CK

    Vous pouvez utiliser un module personnalisé pour charger une page n'importe où sur votre site Web, dans une position de module. C'est facile à faire et vous pouvez également modifier l'interface directement depuis le module.


    Créer un module personnalisé


    Allez dans le gestionnaire de modules Joomla >> Nouveau

    new module


    Rechercher le module personnalisé

    custom module select

    Donnez-lui un nom, une position et enregistrez-le pour créer le module.


    Ajouter la balise Page Builder CK

    Vous pouvez utiliser le bouton de l'éditeur pour charger une page existante ou pour créer une nouvelle page.

    button editor

    Il ouvrira une fenêtre contextuelle dans laquelle vous pourrez choisir de créer une nouvelle page ou de charger une page existante dans la liste.

    popup

    Une fois que vous avez sélectionné la page que vous souhaitez utiliser, la balise Page Builder CK sera ajoutée automatiquement au contenu de votre éditeur

    tag in module


    Activer les plugins de contenu

    Vous devrez activer l'option Préparer le contenu pour que la balise soit transformée en page de contenu sur votre site Web.

    prepare content


    Edit the content

    Vous pouvez aller dans le composant Page Builder CK, trouver la page et la modifier. Mais vous pouvez aussi l'éditer directement depuis le module en utilisant le bouton de l'éditeur.

    popup edit button

    Lorsque vous cliquez sur le bouton Editer, il ouvrira la fenêtre contextuelle dans laquelle vous pourrez modifier votre page directement dans l'interface Page Builder CK.

    popup edition


    Vous n'avez pas besoin de naviguer à travers plusieurs pages dans l'administration Joomla, vous pouvez faire ce dont vous avez besoin directement depuis le module.


    Télécharger Page Builder CK


Outil de création rapide, puissant et responsive.

En savoir plus

Extensions favorites

logo maximenuck 110 logo pagebuilderck 110 logo slideshowck 110template creator ck large 449

Sauvegarder
Choix utilisateur pour les Cookies
Nous utilisons des cookies afin de vous proposer les meilleurs services possibles. Si vous déclinez l'utilisation de ces cookies, le site web pourrait ne pas fonctionner correctement.
Tout accepter
Tout décliner
Analytics
Outils utilisés pour analyser les données de navigation et mesurer l'efficacité du site internet afin de comprendre son fonctionnement.
Google Analytics
Accepter
Décliner